How Big is Your Radius?
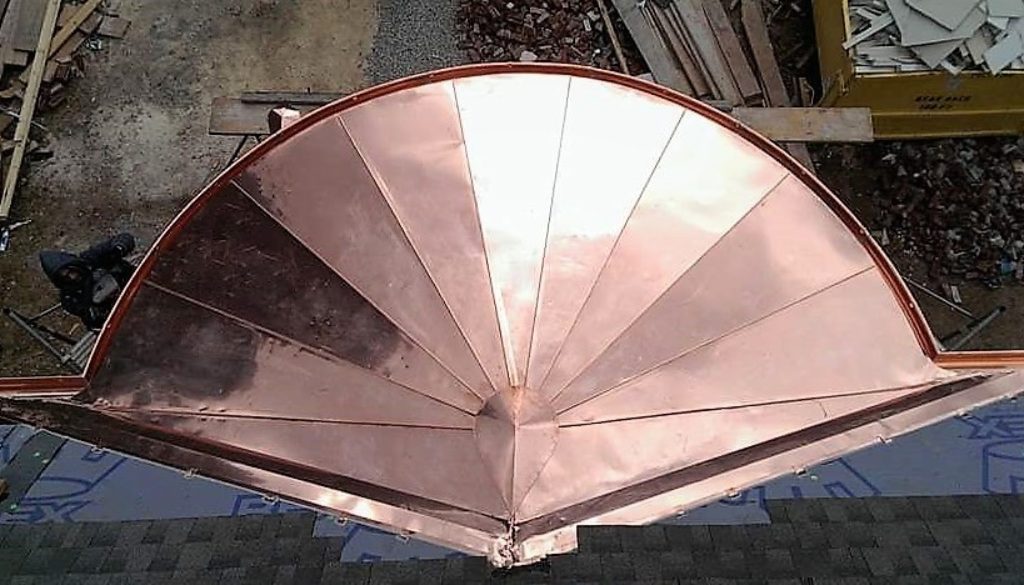
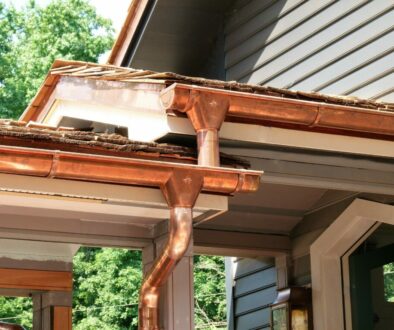
Radius gutters are used around the curvatures of a roof, they are one of the more difficult items to install and for that reason we do not recommend installing them as a DIY project.
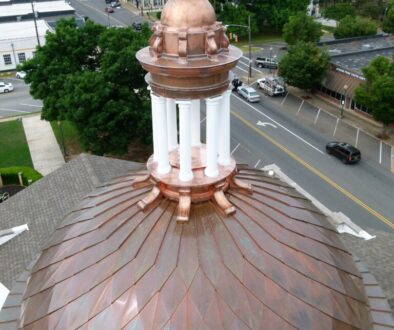
One might think that just because they have installed a regular gutter in the past that they can install one with a radius but there are a few differences. For example, some people will make the mistake of using a regular gutter and cutting it into smaller pieces so that it fits around the turret (a small tower or curved structure that projects vertically from the wall of a building). This is not a good idea because the more pieces used, the more likely the system will leak.
Another common mistake made on a curved gutter is not calculating the effects of gravity. When installing a radius gutter the center needs to be installed at a higher level than its end pieces. This allows the water to run towards the back instead of pooling at the center and pouring over the edge.
It is also very important to make sure the correct measurements are taken; so once again, we recommend hiring a professional. Most contractors will come out and measure the curving for you but just in case, we have listed easy to follow step by step instructions below:
- Take a foam insulation board (size 4′ x 8′) and place it under the eave of the turret.
- Have someone hold the board in place while you secure it using 1/2” screws and a washer.
- Attach a Sharpie to the end of a long stick and trace the curve.
- Once traced, remove the foam and cut out the curve with a razor.
- Transfer the curve onto an 8 ft. piece of paper using the Sharpie.
- Measurement complete!
Given that radius gutters are formed by machine, the curvature tends to remain the same even if it is longer than 8 ft.
For your convenience Ornametals Manufacturing, LLC fabricates our radius gutter in copper and zinc. We also offer them in both the tradition k-style and our signature half round. Contact us now for more details.


