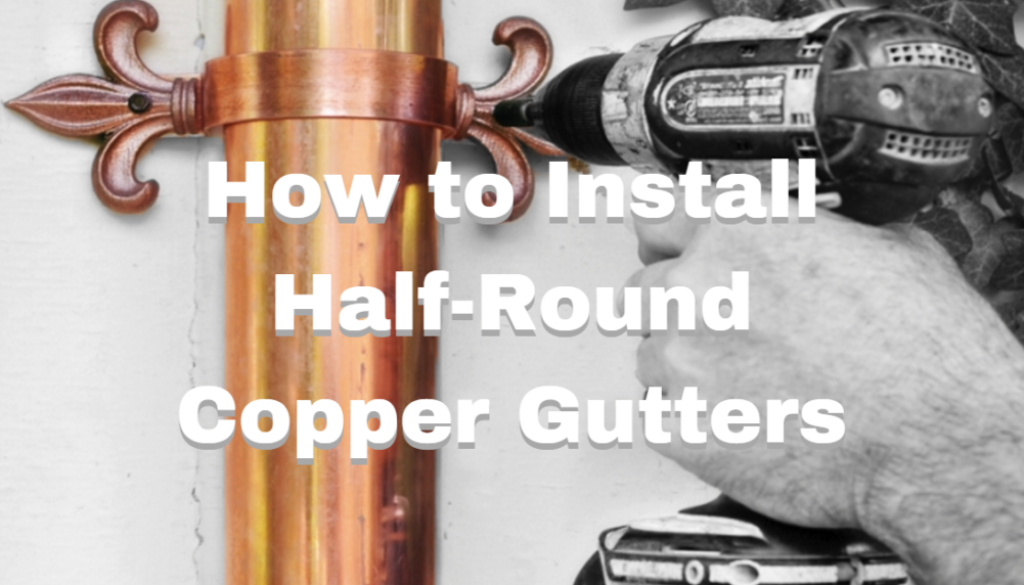
How to Install a Half-Round Copper Gutter
It’s always best to hire a professional when it comes to hanging high end gutters. There’s almost always some kind of architectural complication that requires a professional touch, and copper gutters are not a cheap solution and should be treated with the greatest of care. Sometimes you might have a small project to hang a small section of gutter so here’s the steps to use to do it yourself. Please consult a professional for larger copper gutter projects.
Step 1:
At the high end of the gutter’s run, place a bracket and section of copper gutter against the fascia. With the gutter’s outer lip right under the plane, make a mark for the bracket’s screw hole with a pencil. Use a level to make a matching mark at the downspout end. Go lower from that mark an additional ½ inch for every 10 feet of run, and mark the low point. Snap a chalk line on the marks, and there’s the pitch.
Step 2:
For support, screw the brackets to the rafter tails instead of the fascia. To determine where rafters go, figure that they should span no more than 32 inches apart. Drill pilot holes where the chalk line crosses the selected rafters, then screw the brackets to the fascia.
Step 3:
Measure from the end of the roof to where you plan to attach each copper downspout. Usually, they run inboard of corner trim, varying by bracket’s size. Transfer the measurements to the gutter, and cut the downspout holes with a hole saw or with metal shears.
Step 4:
With a few assistants, set the gutter into the brackets. Take care not to scratch the metal. Hook the back to the bracket, then hold the front down using hooks, screws, or stainless-steel pop rivets.
Step 5:
Assemble the downspouts and elbows so that every upper piece fits into a lower one. Slip the top elbow over the outlet fitting ,and attach brackets near the elbows at the top and bottom.


