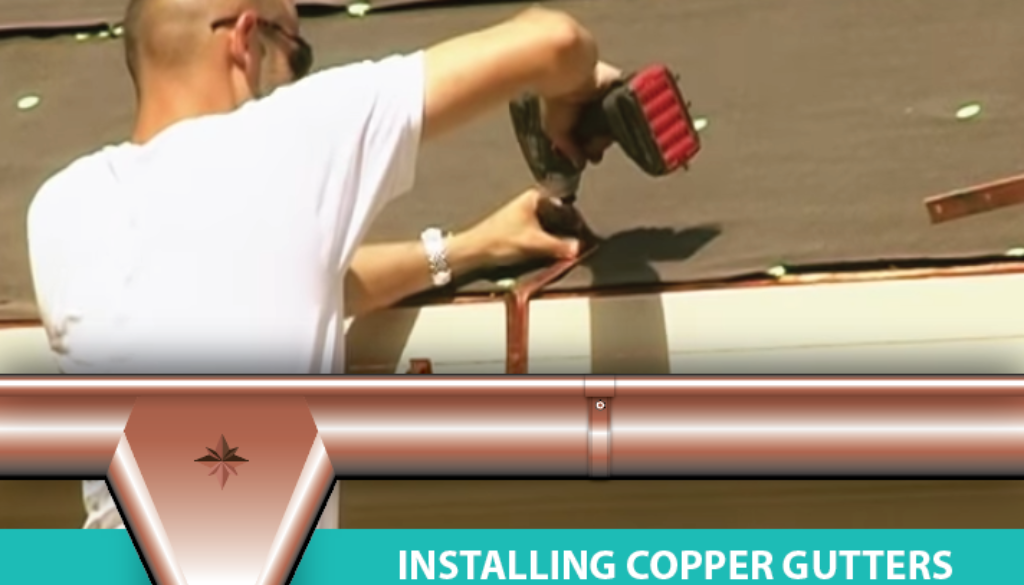
How to Install Copper Gutters
These steps are most everything you need to know to mount copper gutters to a home. However, it is highly suggested that you hire, or at least consult, a professional for this process.
Step 1: Choose Gutter Hanger Type
Depending on the way you will mount it, you must choose a type of hanger: Fascia Mount or Roof Mount. Fascia Mount is used when there is a prominent fascia board available. Roof Mount is used when it is either non-existent, too small to mount, angled or damage via molding.
Step 2: Install Gutter Hanger
To prevent gaps when mounted, use a chalk line to mark the mount spots. It should slope about 1/4 inches per twenty feet towards the nearest downspout. This is one of the more difficult tasks and takes careful planning to insure proper slope. This is one of the reasons why it is better to hire a professional. Install a hanger for every two feet of gutter. On corners, install a hanger about five inches from the edge for proper hanging of miters. Roof Mounts are more complicated to mount and are highly recommended that they should be professionally installed.
Step 3: Install the Gutter
Install the end-cap, crimp the end of the gutter, snap in place and secure with a hammer. Seam it with wires or solder it together. When you joint sections together, rivet then solder them together. Use a gutter clamp when riveting. With VMZinc, only soldering is required.
Step 4: Installing Corner Miters
Complete the straight sections before moving onto corner miters. Place down into the 5 inch spaced hangers and attach as normal.
Step 5: Installing a Star Outlet
Place the star outlet on the gutter and mark its position. Trace or mark an opening inside the marked position, keeping the gutter size in mind. Cut the opening. It is preferable to use a cutting template. Bend down the edges of the opening, leaving an overhang of approximately 1/2 inch. Install the outlet by hanging the front of the outlet first then bend the back clips over the back flange of the gutter.
Step 6: Place Gutters
Place copper or zinc gutters into hangers. Secure it to the hangers by bending the front clamps first and then back clamps.
Step 7: Installing Downspouts
Install seamless weld elbows as necessary. These are available at several angles and do not require soldering but tightly fitting them together as they overlap. When angling to meet wall, measure to leave one inch from wall. Install brackets to hold individual elbow as well as downspouts, spaced at about ten feet. No soldering is necessary. You can use brackets with anchors and pins or screws. Before attaching final lowest bracket, ensure bracket is straight.
Optional Step: Install Drip Edge
Install drip edge (metal sheet) under shingles or other roofing material. Place about 3 inches and the 1/2 inch over fascia. Nail to surface.
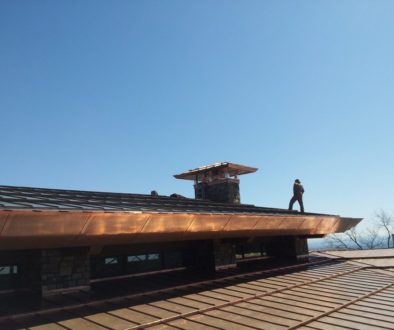
Installing copper gutters (or zinc) is an involved and complicated process. To get professional help or consultation, just call


